The Pattern step (⌘2 / Ctrl+2) is where the look is set. The sidebar runs top to bottom: the gallery, presets, Adjust, Placement, Surfaces, Colour and Depth. The 3D view shows the pattern over the assembled pieces and updates as you change anything.
Choose a pattern
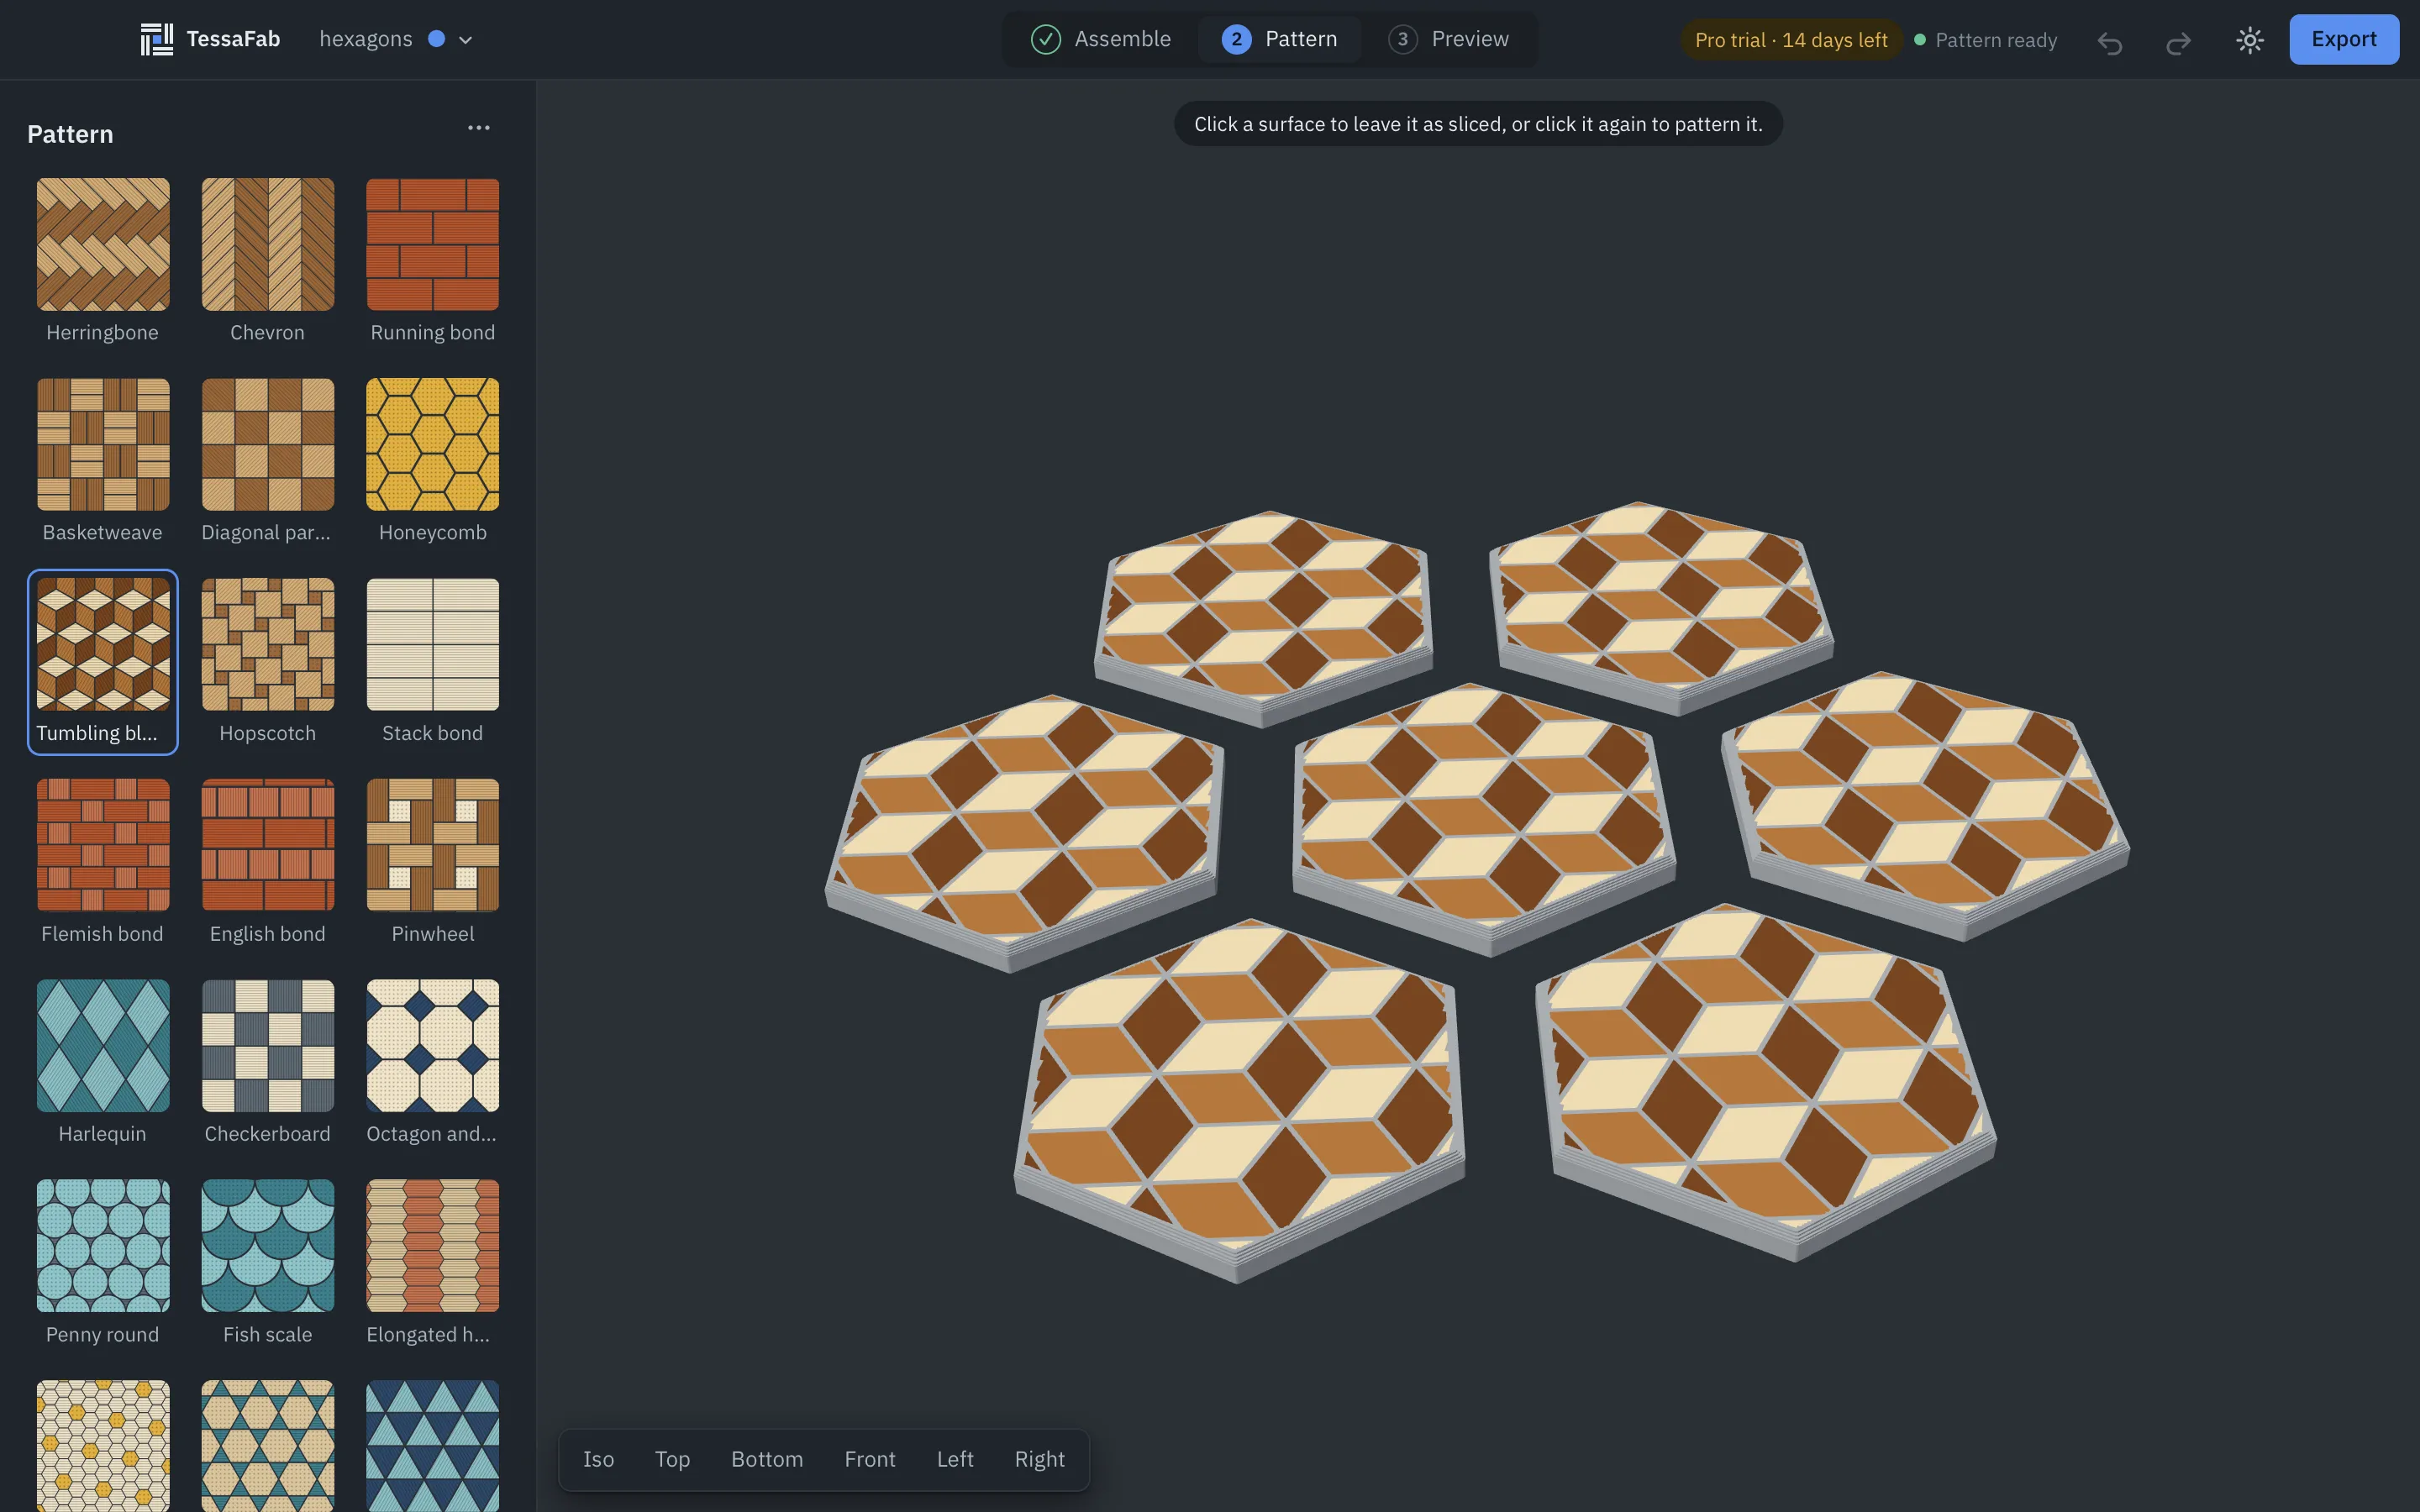
Click a swatch in the gallery. There are 39 to start from, 51 counting their presets (the full list), and your own appear under Yours, with two tiles to add more: New pattern (Make your own) and From an image (Images as patterns, Pro).
The ⋯ menu above the gallery has the rest: Edit pattern…, Make my own from this… (a copy of a provided pattern you can change; Duplicate… for your own), Pattern from an image…, importing and exporting a pattern as SVG, Import pack…, Export as pack… and Delete pattern.
Presets
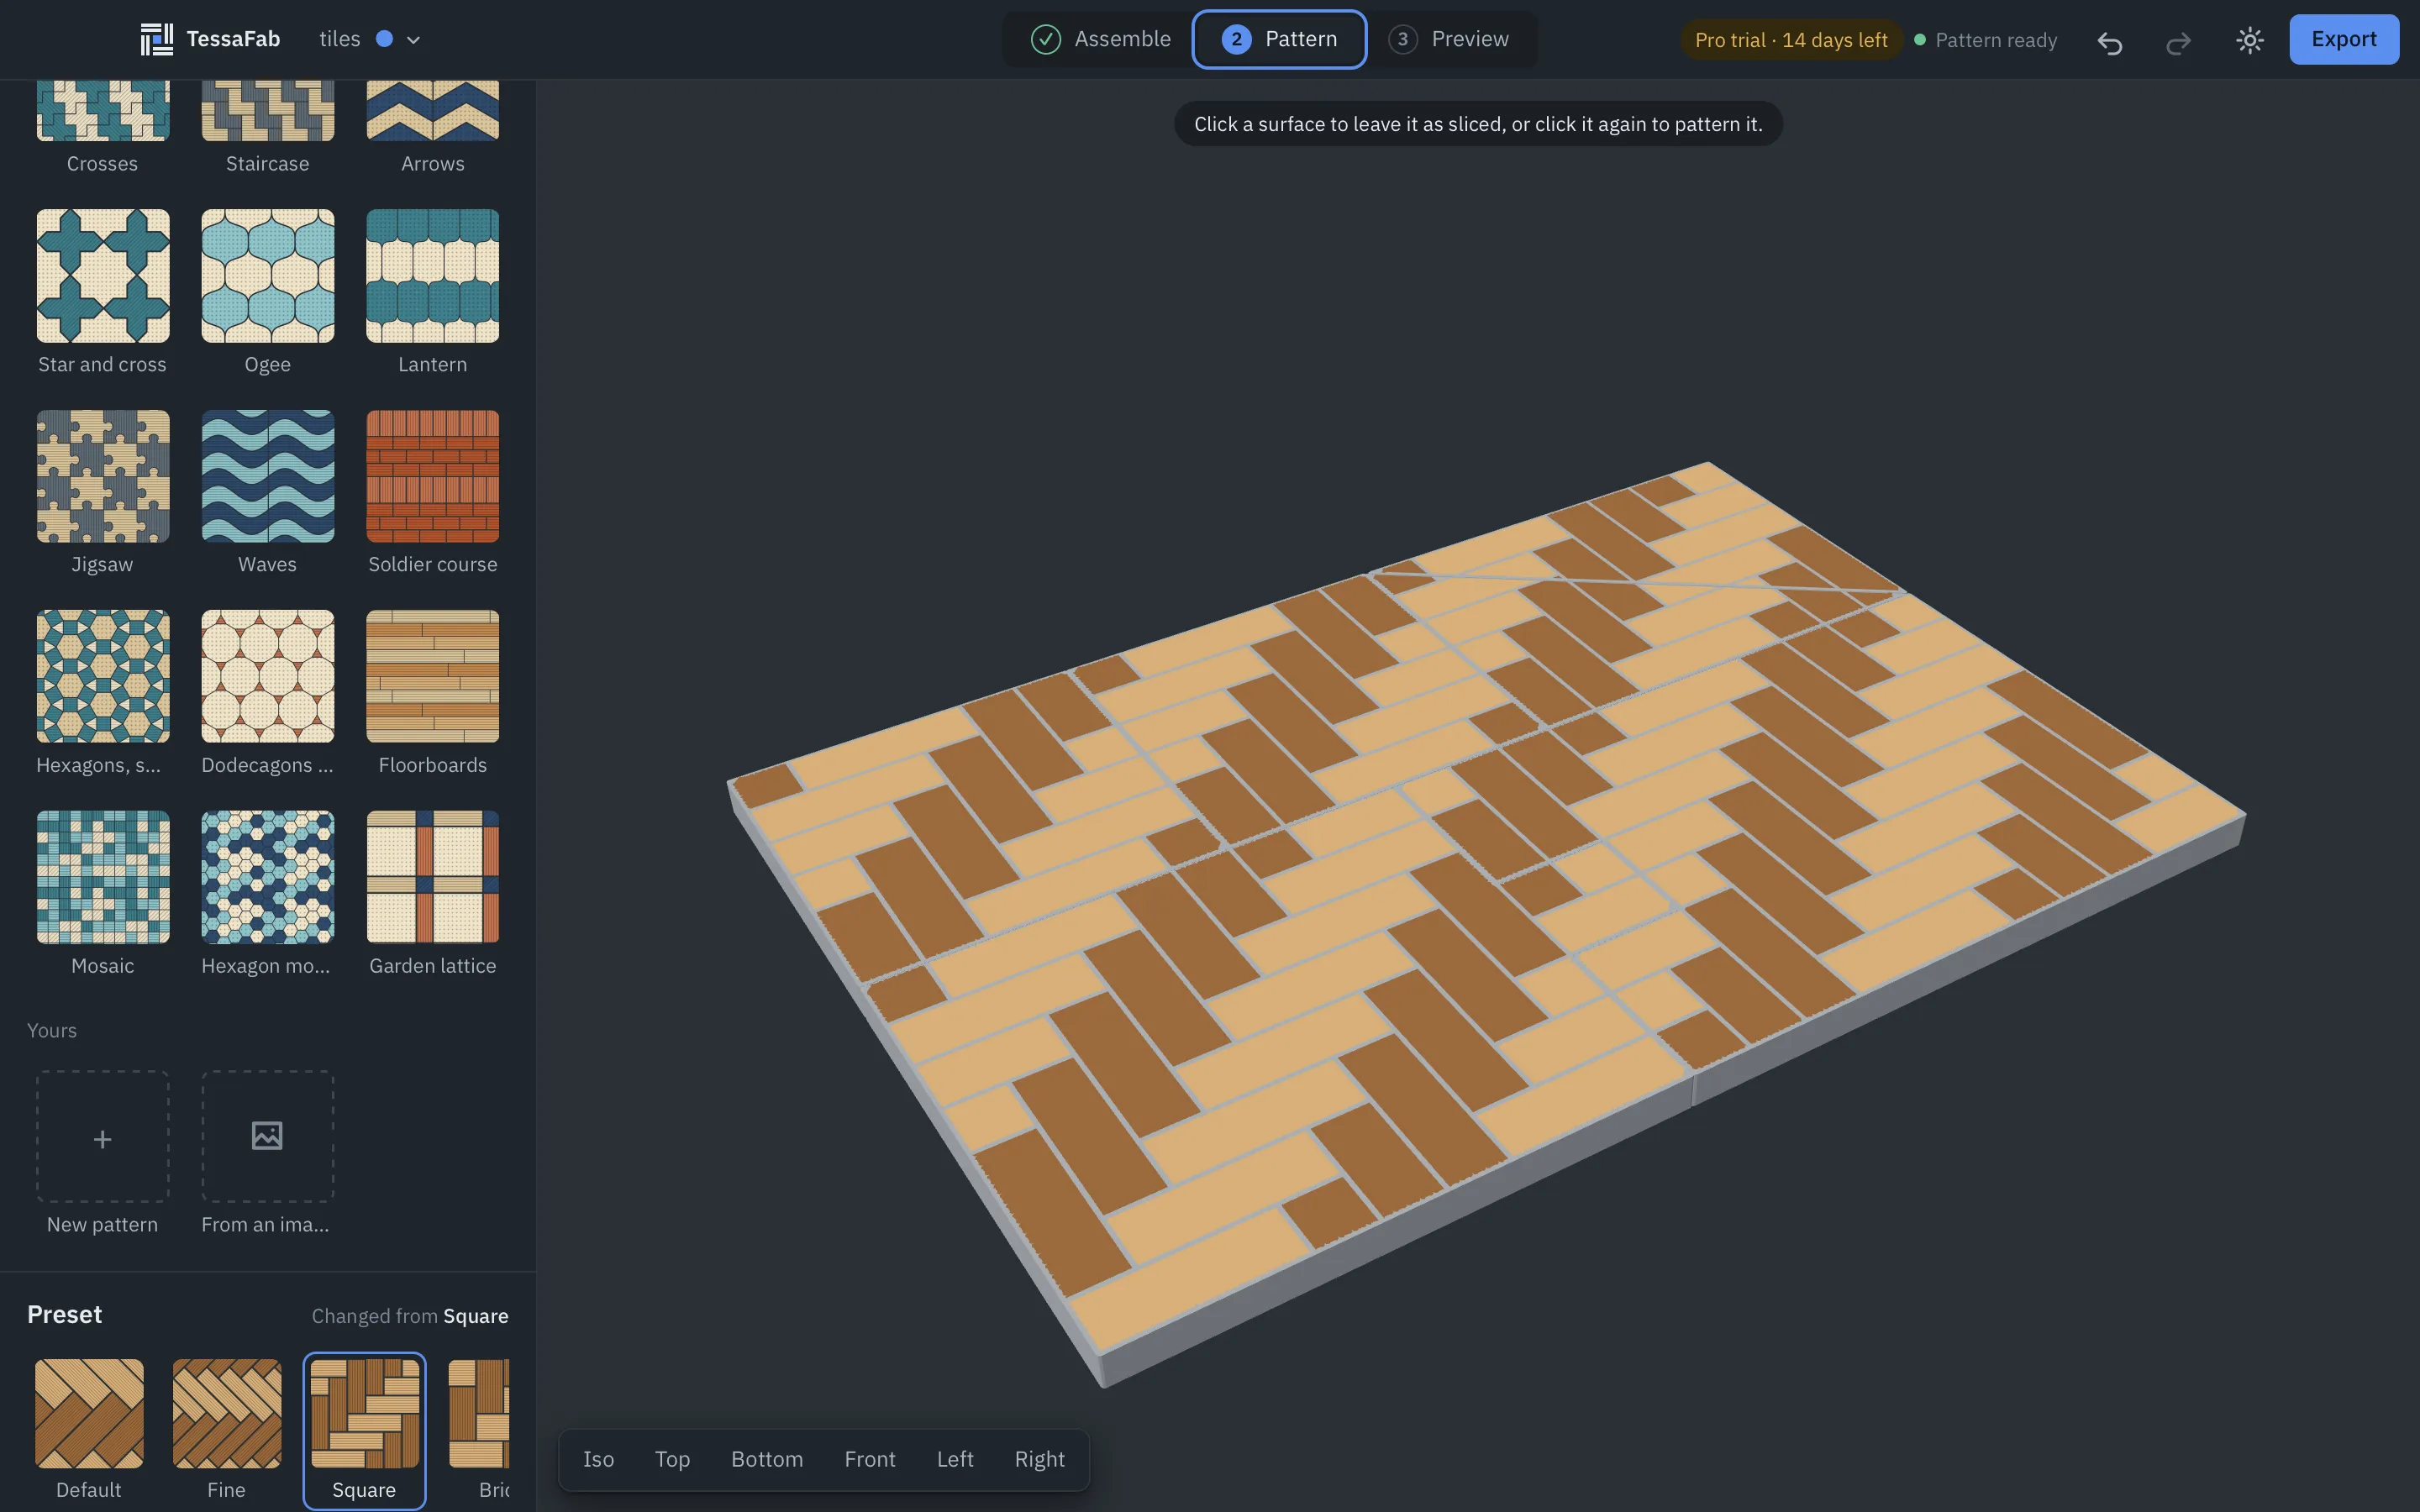
A preset is a saved set of values for one pattern: its parameters and line directions. Every pattern has a Default preset and some have more (Herringbone has Fine, Square and Brick). They show as a strip under the gallery.
When you change a value, the strip says Changed from the preset you started from. Save as preset… keeps your values under a name of your own, for this pattern in any project. Your presets can be renamed or deleted; provided ones can’t.
Adjust
Adjust holds the pattern’s parameters, such as plank width and length, tile size, grout width, or a layout choice. Each pattern has its own (they’re listed in the pattern library). The heading also shows the size of one repeat of the pattern.
Line direction
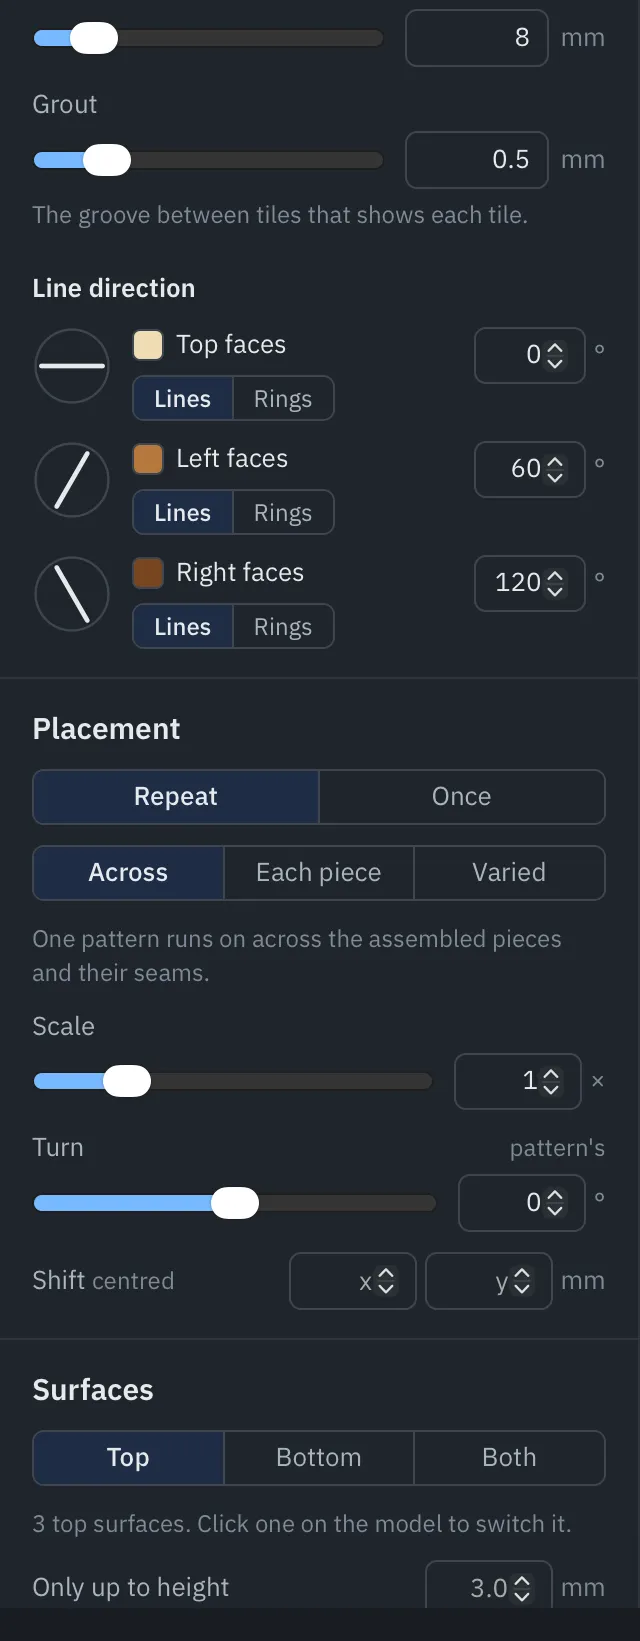
Every tile group (the tiles that share a colour in the swatch) has a dial for the direction its lines run. Turn the dial, type an angle, or choose Rings for concentric rings instead of straight lines. Reset goes back to the pattern’s own direction.
Line direction is what makes the pattern visible in a single colour: neighbouring tiles with different directions catch the light differently.
Placement
Placement says how the pattern is laid over the pieces. Reset puts it back as it was.
| Setting | What it does |
|---|---|
| Repeat / Once | Repeat the pattern over everything, or place one copy (a medallion, a logo). Beyond a single copy, the surface gets plain straight lines. |
| Line up | With Once: which of nine points of the assembly (corners, sides, middle) the copy lines up with. |
| Across / Each piece / Varied | See below. |
| Scale | 0.25× to 4× the pattern’s size. |
| Turn | −180° to 180°. Until you change it, the pattern uses its own angle. |
| Shift | Move the pattern by x and y millimetres from where it starts (the middle, or the line-up point). |
Across or on each piece
- Across: one pattern runs over the assembled pieces and across their seams. This is what makes a tabletop or a jigsaw look like one surface.
- Each piece: a copy of the pattern on every piece, centred on it. Copies of the same piece print alike, however the slicer turned them. Good for coasters and tiles used apart; you don’t need to assemble anything.
- Varied: like Each piece, but each piece takes its own turn and part of the pattern, so no two print alike. Shuffle gives another variation. Varied needs the pattern to repeat.
Leave a surface as sliced
Click a surface on the 3D model to leave it as the slicer made it; click it again to pattern it. Pattern all in the Surfaces section undoes them all. More in Surfaces and colours.